Creating a Twitter ad using PixelMe
In order to get started with your targeted Twitter ad, make sure you’ve set up your Twitter pixel in your PixelMe dashboard and you’ve created some links with it. Give your links a few days to gather clicks before creating an ad.
Once you’ve done that, you can continue here!
Step 1: Go to your Audience Manager.
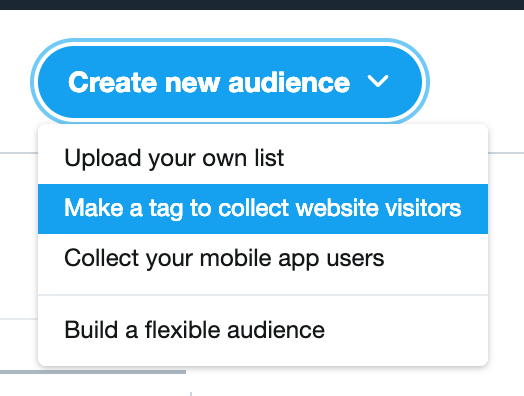
In the navigation at the top of your Twitter Ads Manager, go to Tools -> Audience Manager. From here, press the button ‘Create new audience’, and pick ‘Make tag to collect website visitors’.

Step 2: Create your tailored audience.
Give your new audience a name to help you recognize it later. Select the ‘universal website tag’ and choose one of the following:
- ‘All website visits’ – this will create an audience of anyone who clicked on your links which had your Twitter pixel attached.
- ‘Exact URL’ – you can use this to target only people who visited specific links, if you’d like to be very specific with your targeting. You can either enter one link, or multiple. However, Twitter does require you to have at least 100 users in your audience, so make sure you have enough clicks on your links before trying to create this audience.
Save your audience.
Step 3: Create the ad!
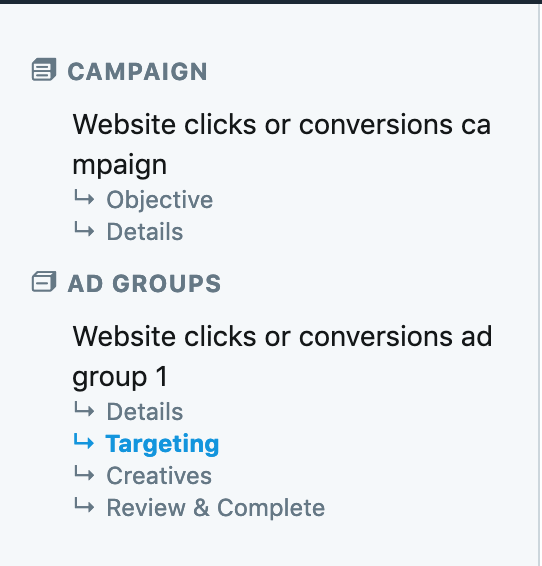
For this step, you’ll have to navigate to the campaign dashboard and create a new campaign for yourself. Set it up the way you’d like, until you get to the ‘targeting’ section.

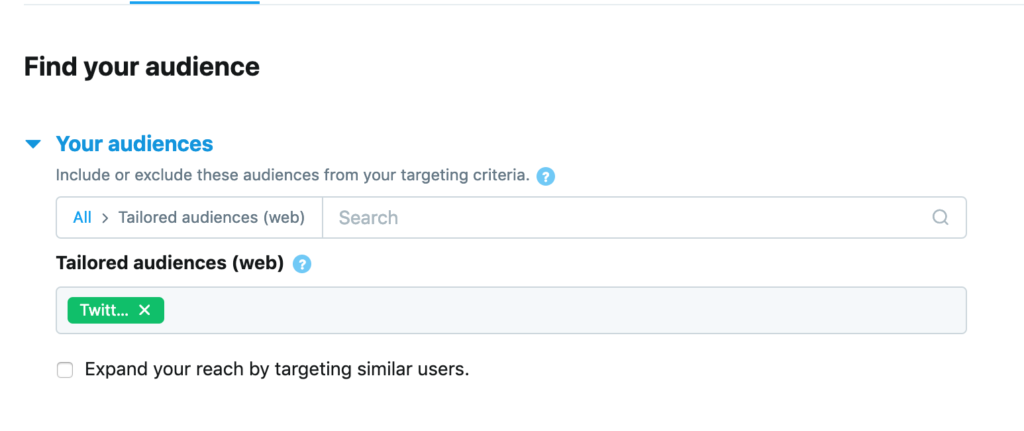
In the ‘Your audiences’ dropdown menu, choose ‘Tailored audiences (web)’. Your custom audience should be in this list. Select it, then finish setting up your ad.

That’s all! Now, you’re ready to launch your ultra-targeted Twitter ad 😄
Not a PixelMe user yet? 👉 Try PixelMe for free, the URL shortener for savvy marketers! Turn every link you share into perfectly targeted ads. 🚀