Advice and answers from the ScanUnlimited Team
You may find yourself applying the same filters to multiple scans. Creating a filter preset allows you to save filters so that you can apply the same filters to future scans.
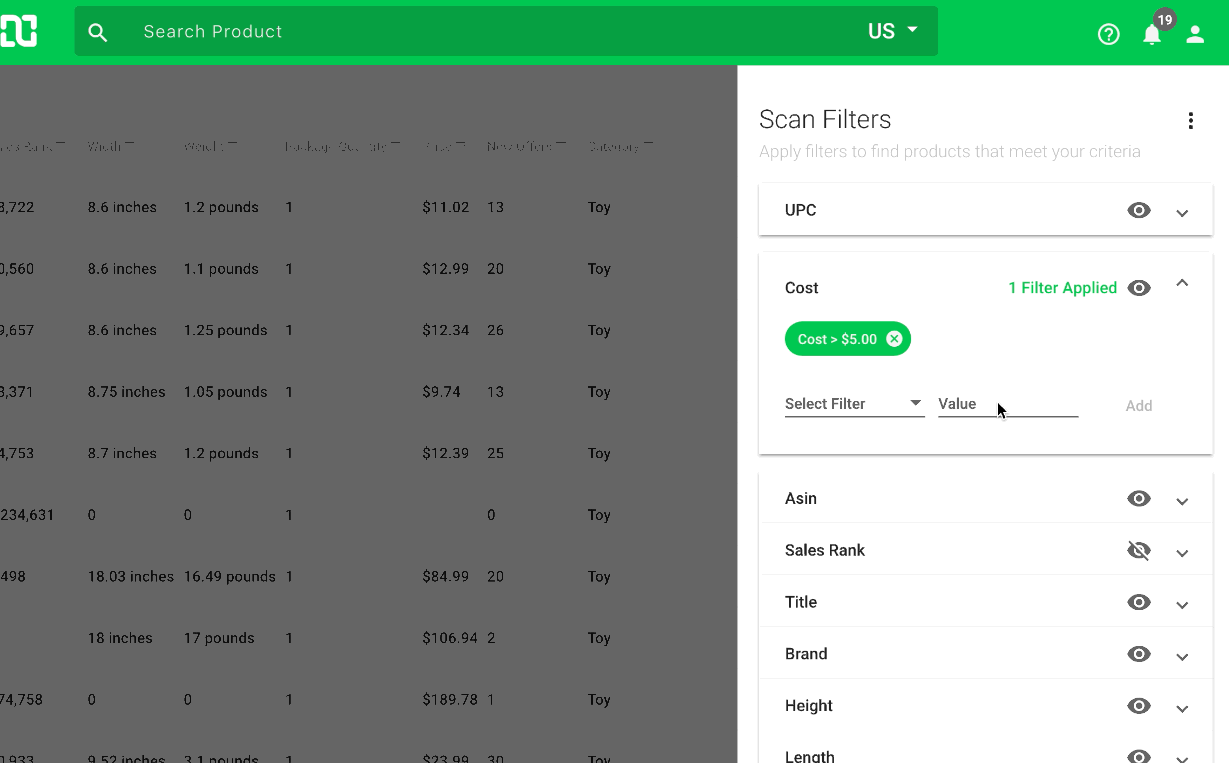
Before creating a preset, you need to open an existing scan and apply filters that you would like to create a preset with. Presets can also save column visibility so you can toggle hide/show columns by clicking the visibility icon on each column.
Create a Preset
Once you are satisfied with the filters and column visibility, you can create a preset with these options.
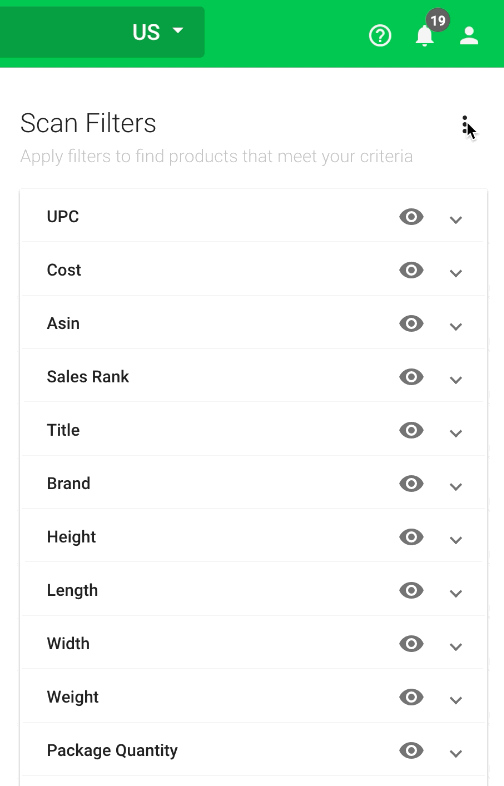
Within the filter sidenav menu, click the options icon in the top right hand corner and select “Create Preset”. This will open a pop up for you to give the preset a name. Click “Save” to save your preset.
Load a Preset
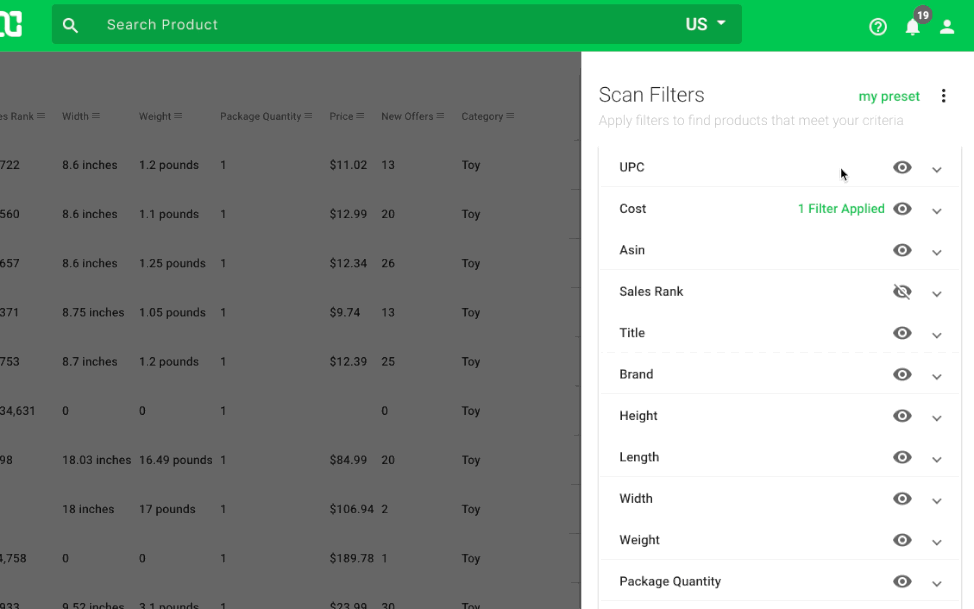
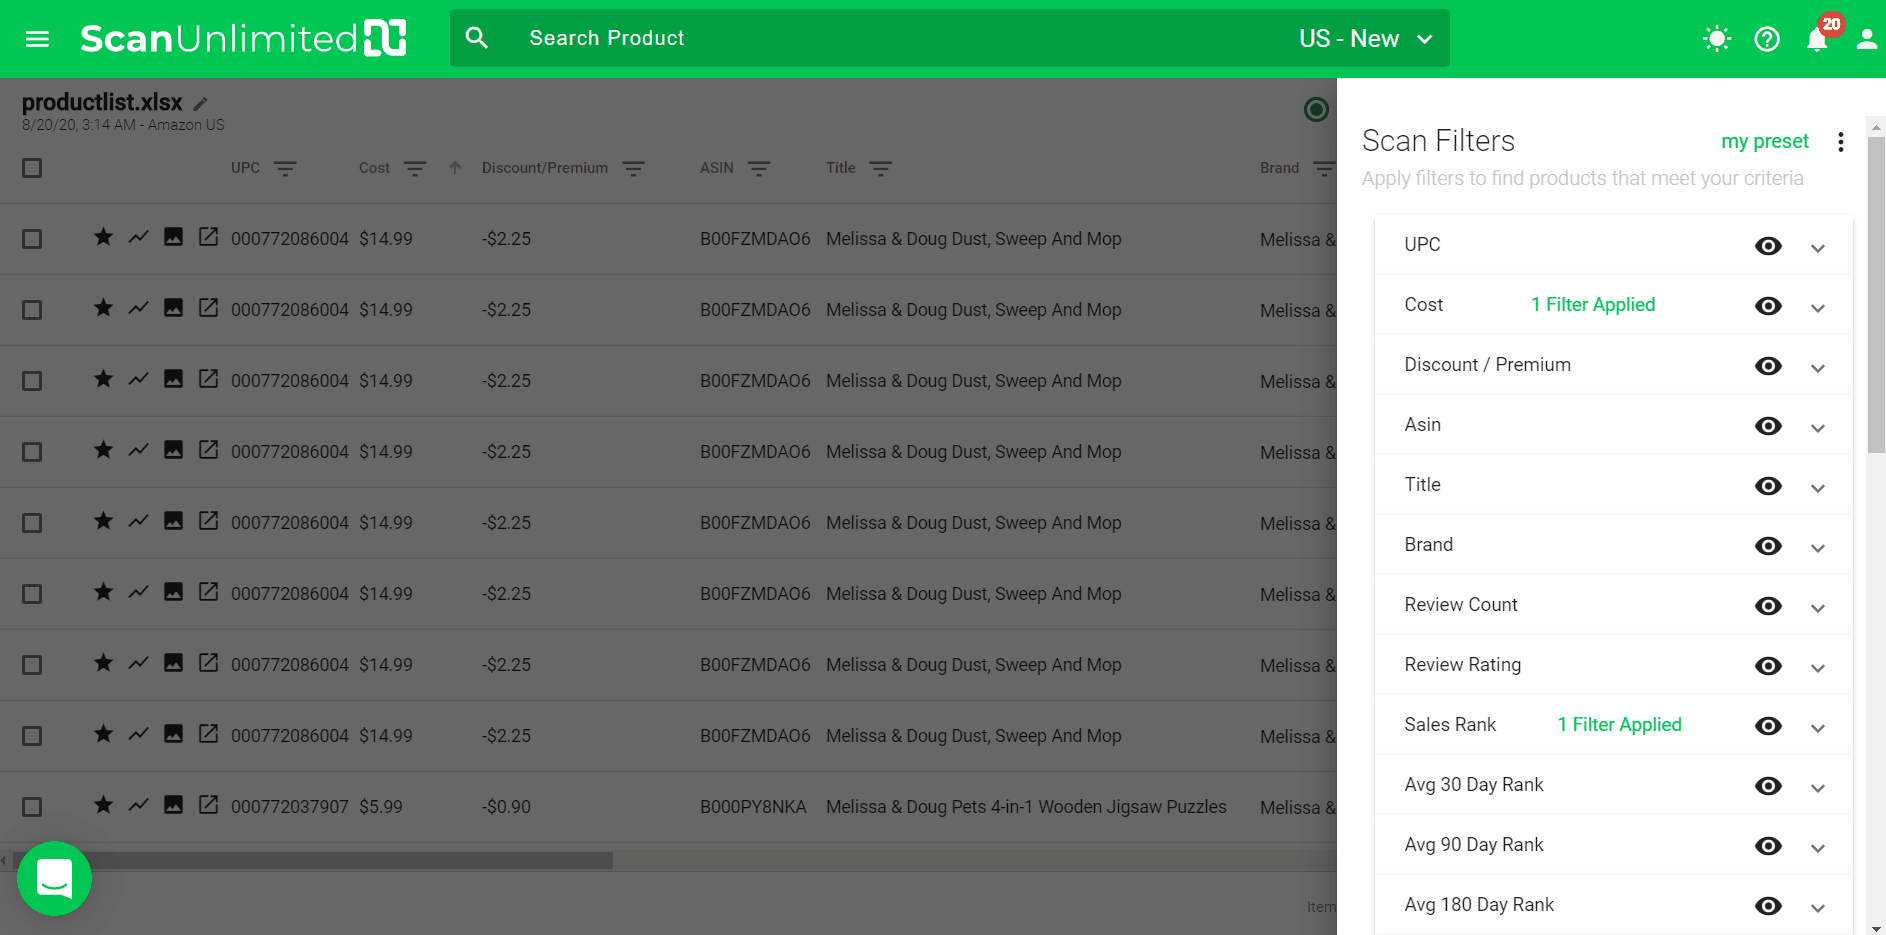
After opening a scan, apply a previously created filter by clicking the options icon in the filter sidenav menu and selecting “Load Preset” and selecting the preset you wish to apply.
Note: Loading another preset will overwrite the currently applied filters. It will not layer on top of the previously applied preset.
Update an Existing Preset
If you wish to edit an existing preset, first load the preset you wish to edit. Next, add or remove filters to/from the preset. When satisfied with the filters applied, click the options icon in the filter sidenav menu and select “Save Preset”.
You will be prompted to confirm you wish to update the preset. Click the save button to confirm.
Delete a Preset
If you have no need for a previously created preset, you can opt to delete the preset.
To delete a preset, first load the preset you wish to delete. Next, click the options icon in the filter sidenav menu and select “Delete Preset”.
Set a Default Preset
Using the default preset in the Scan Settings allows you to automatically apply the same filter preset for your future scans.
First, you’ll need to have at least one filter preset created.
Once you have a filter preset, follow these instructions:
1 – Go to Settings.
2 – Click on the Scan Settings tab.
3 – Click the Default Preset dropdown and choose the filter preset you want to set as default.
4 – Click Save.
This filter preset will now be automatically applied when opening a scan.